Showing posts with label tutorial. Show all posts

Friday, August 30, 2013

Part I DIY: From Pierced Dangle Earrings to Clip-ons

In this quick part one of two tutorial, I will be showing you how to change dangle pierced earrings into clip-ons. 

I like the way earrings look, but don't like the idea of having piercings. Clip-ons are the obvious choice, however, I've found them to be hard to find, and fairly expensive at that, especially in comparison to their pierced counter parts.

Yearning to make my own after seeing how easy the process was at a mall kiosk, I searched for the clip-on blanks and finally found them at Micheal's. Fourteen blank pairs for around $3! What more could a girl ask for?   


Let's get started!
 
You will need:

1 pair of clip on blanks (Bead Landing is the brand I found; they come in gold and silver. Mine are silver)
1 pair of earrings you wish to convert
Needle-nose pliers


1 - 2. Using your finger tips, gently pull the charm off of the pierced earring hook. Note: depending on how tightly the charm is attached, you may need to use your pliers.
3. Self explainatory shot of the seperated pieces. (hook and charm)
4. Using your needle-nose pliers, open the ring on one of your clip on blanks. 
5. Gently hook the charm onto the open ring.
6. Close the ring with your pliers. 

Enjoy!


Thursday, May 16, 2013

Spring Forward ~ A Free Pattern


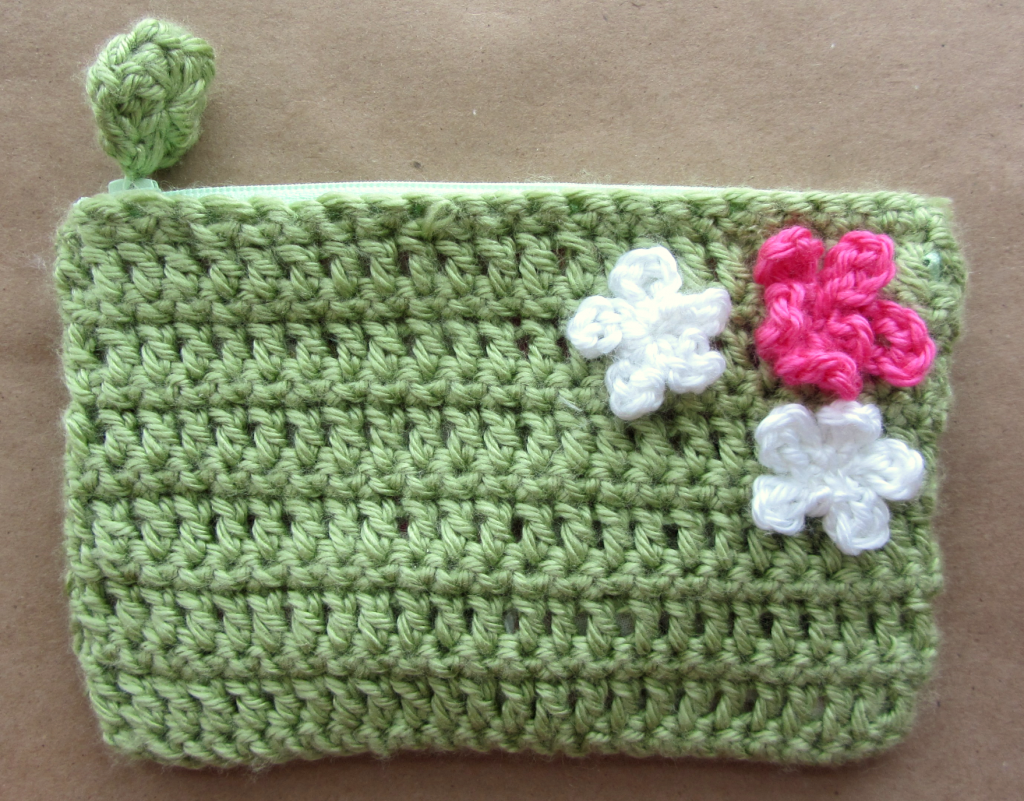
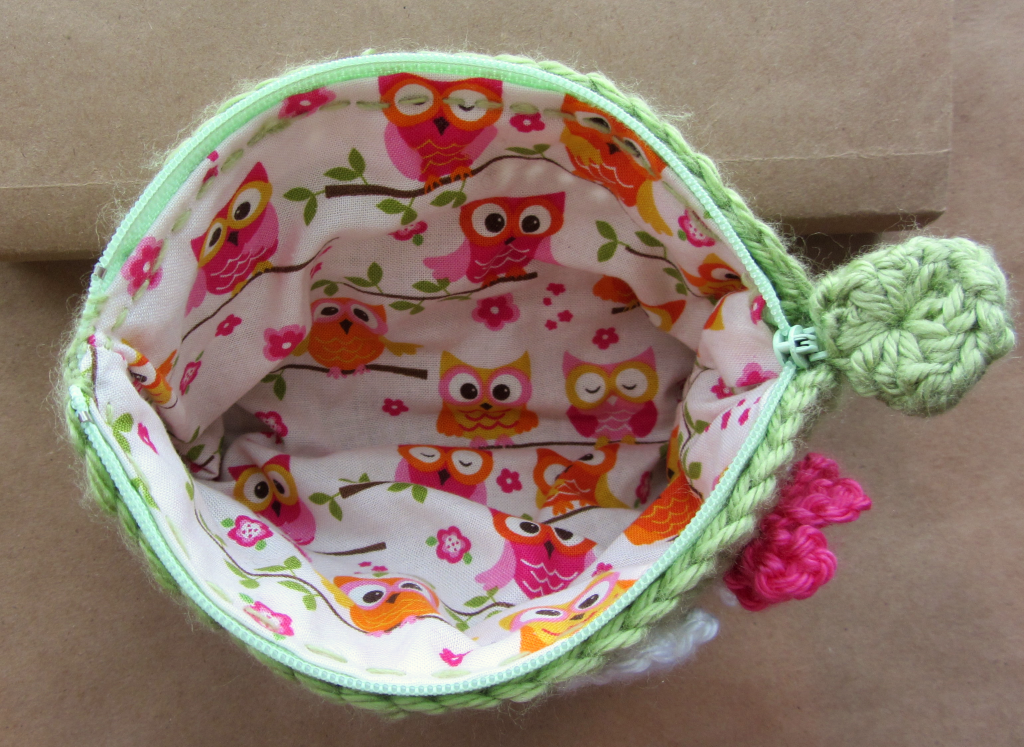
A simple, crocheted, zippered pouch, that uses feminine touches and fabric to make it pop.

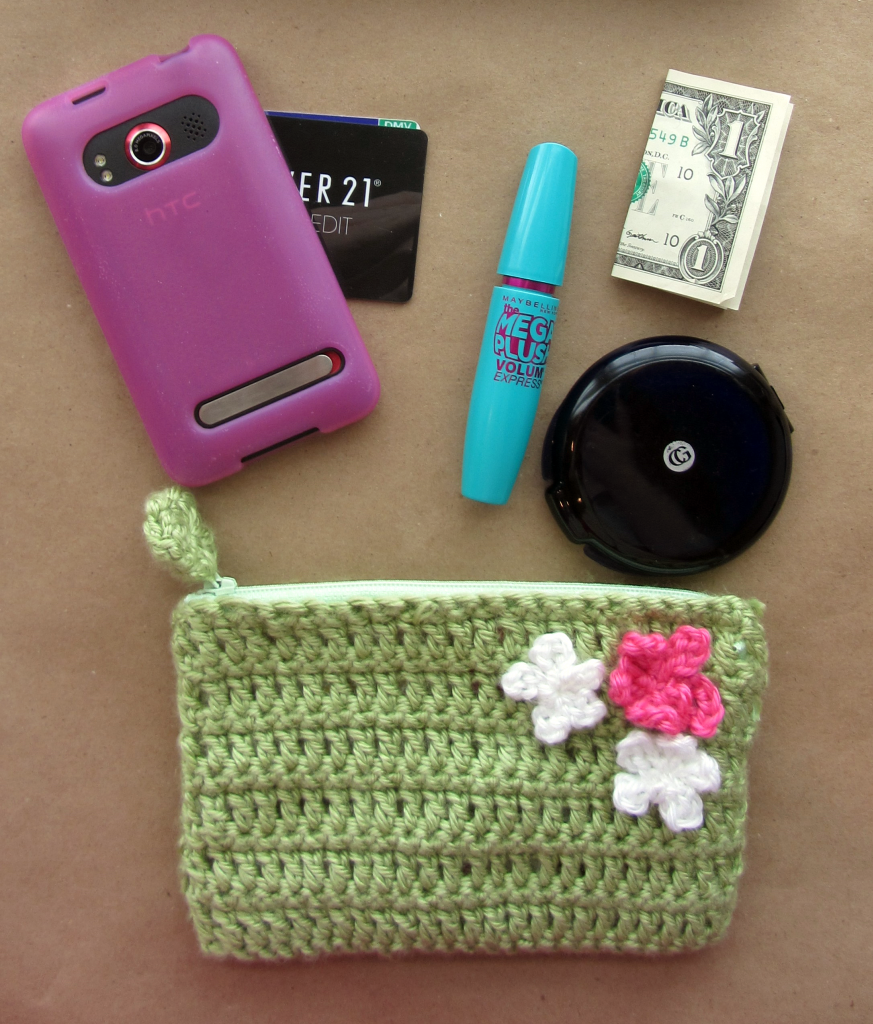
Sunglasses case, cosmetics bag, or just a cute clutch for your necessities; with dimensions of 7 inches x 4.5 inches, you can be sure to fit just what you need.

Worked in two pieces and sewn together for a more structured look, the super simple single and double crochet stitch pattern makes this small purse an easy and almost instant gratification project. Make several as gifts or just one for yourself.
                   
You will need:
A main color yarn (body)
Two contrasting yarns (flowers)
Hooks: 5.00 mm, 4.00 mm and 3.75 mm
One 7 inch zipper
Fabric (¼ a yard would be plenty)
Sewing needle
         

A word on copyright: This pattern is free for use to recreate. You can sell the finished object you make with this pattern, but if you could please give me credit that would be great. Please do not sell this pattern for profit. Thanks

Note: The reason I use a 5.00 mm hook for the first row is to compensate for my stitches getting looser the longer I crochet. Since the chain you make impacts how wide the bottom of your piece will be, you can combat it being to narrow by starting with a bigger hook, thus creating a more even shape


Body (make 2):

Using your main color and size 5.00 mm hook, chain 26
Row 1: Work one row of single crochet (25 sc)
Row 2: Chain 2, turn work and change to size 3.75 mm hook. Work one row of double crochet (25 dc)
Row 3: Single crochet across (25 sc)
Row 4: Double crochet across (25 dc)
Row 5: Single crochet across (25 sc)
Row 6: Double crochet across (25 dc)
Row 7: Single crochet across (25 sc)
Row 8: Double crochet across (25 dc)
Row 9: Single crochet across (25 sc)
Row 10: Double crochet across (25 dc)
Row 11: Single crochet across (25 sc)
Row 12: Double crochet across (25 dc)
Row 13: Single crochet across (25 sc)

Break yarn and pull through to bind off.

Sew cast on edges and sides together, leaving the bind off edges as the opening of the pouch.

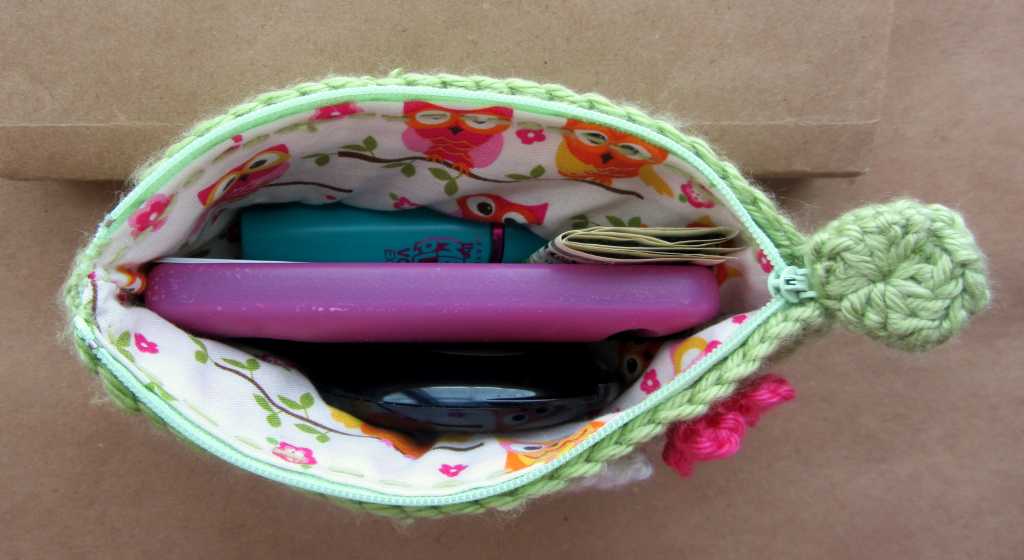
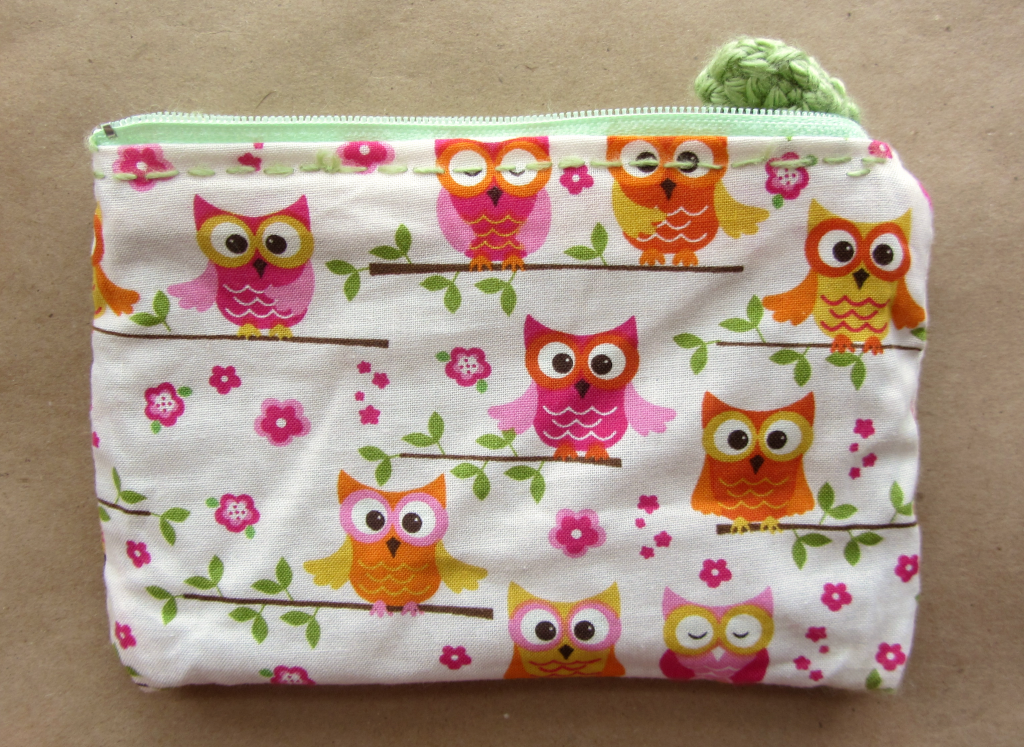
Create your fabric insert by folding your pouch inside out and using it as a template for the size of fabric you need. Cut one piece and then sew sides together. Place your crocheted piece into the fabric pouch you’ve just created. 


Then place your zipper between the fabric and crocheted piece. Using the same color you used as the main body, sew zipper into place. Try to make your stitches even and place the zipper straight for best results. Using pins to hold everything in place and together is a useful trick.

Zipper pull (make two):
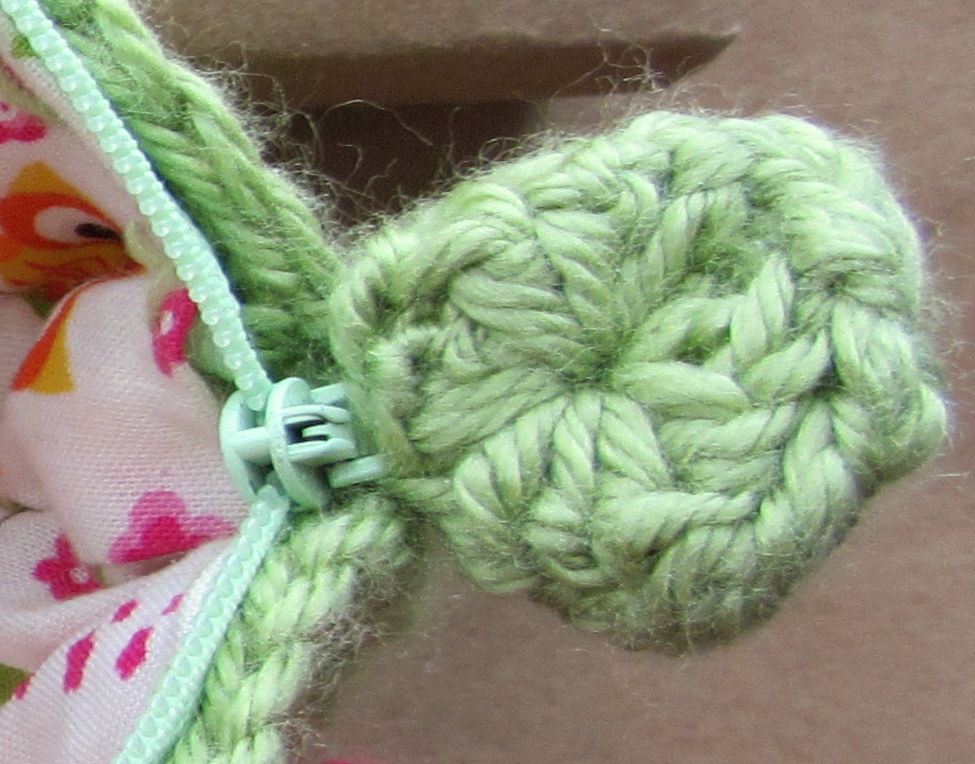
With main color, 4.00 mm hook and using the magic loop, double crochet into your loop 10 times. Slip stitch last dc to first dc to create a perfect circle.

After making a second disk, sew together over the pull that is already on your zipper. To make sure it is secure, you might want to sew through any holes several times. Also, sew edges of disks together.

Larger flower (make one):
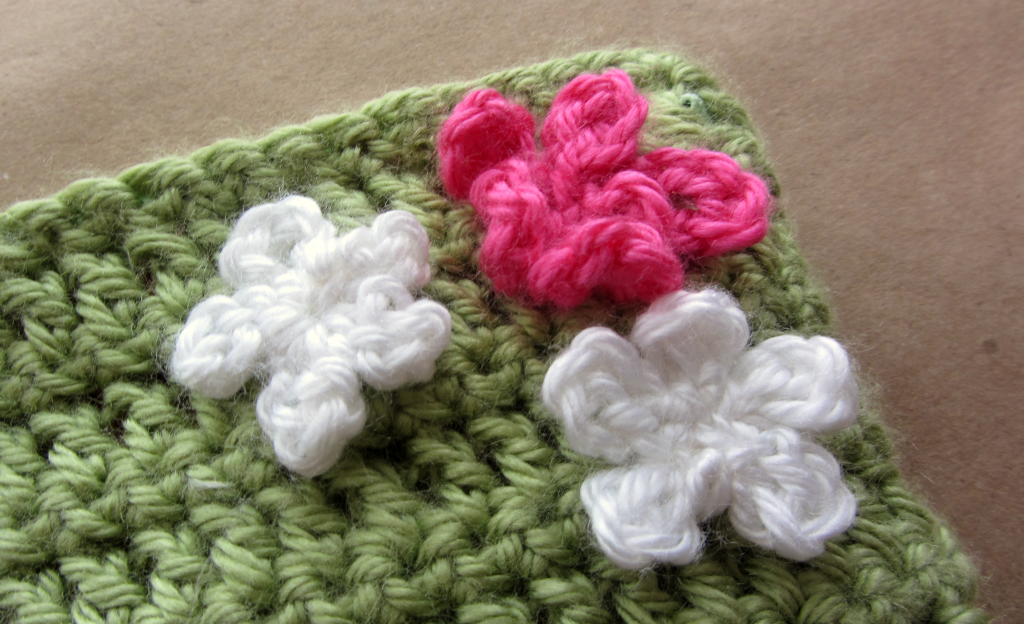
Using one of your contrasting colors and size 4.00 mm hook, make a magic loop and chain 7. Slip stitch into the magic loop and then chain another 7, slip stitching that chain into the magic loop as well. Repeat the process 3 more times to create 5 “petals”. Pull yarn through on last slip stitch to bind off. Use tails to sew flower purse. You can pull your cut ends in between the crocheted fabric and the cloth.


Smaller flower (make two):

Using one of your contrasting colors and size 4.00 mm hook, create a magic loop and chain 5, slip stitch into the magic loop and then chain another 5, slip stitching that chain into the magic loop as well. Repeat the process 3 more times to create 5 “petals”. Pull yarn through on last slip stitch to bind off. Use tails to sew flowers to purse. You can pull your cut ends in between the crocheted fabric and the cloth.

Friday, February 15, 2013

DIY: Cute Box

My name is Chelsea and I have a very slight case of hoarding. When I say hoarding, I don't mean that I am typing this whilst sitting amongst a pile of trash. What I mean is: I keep things that others might consider useless, to use in an unexpected way in the future.

Such is the case with this little box I remade from a old computer part packaging.


My dad was about to toss it, but as always (being the thoughtful man he is) offered it up to me first. I saw the potential immediately. though it was originally orange, the pull "drawer" completely won me over. 


A few months ago, I found myself needing to organize my desk. I came across the box again and decided it would be the perfect, little, miscellaneous, storage spot. So I set my mind to "glamming" it up a bit and thought up the idea to wrap it in some girly wrapping paper I had left over. 


On the open end, I just folded the paper inward and taped it down. Super simple. 

Best thing about this: you can change it out as little or as much as you like, and if you are careful enough when you unwrap your box, you can easily reuse the same paper if you want to change it back in the future. Another great thing, is you can use up scraps of wrapping paper and if you love a particular wrapping paper, this is a great way to be able to "enjoy" seeing it everyday.

Friday, February 8, 2013

Wise One - An Owl Card Tutorial


Is it just me or have owls become a trend as of late? I've seen jewelry, sweaters, shirts, hats, party themes and even bedroom decor based upon them. 

Well, trend or not, I'm loving it. In fact, a little while ago, I made this card for my dear sister (who is a big fan of owls too) for her birthday. It is probably the most time consuming card I've ever made, but completely worth it.

If you love owls too, or have a owl enthusiast in your life, this card might be just the ticket!

If there is any interest down the road, I just might create a more photo detailed, step-by-step guide for how to put this card together.


You will need:

At least 3 (three) pieces of paper in contrasting colors 
A pencil 
Scissors
Scallop scissors (you can find these for a little under $5 at a Micheal's Arts & Crafts)
Tape or Glue (whichever you prefer, but I would suggest a good glue so your attachments stay put)
Black ink pen (I used a fine point Sharpie)
Pink ink pen (for "stitches" around the inner ears and eye lashes) Note: if your card isn't pink, you might just want to use a ink pen in a darker color than your body color.   
Razor blade or X-acto knife


1. Your first step will be to chose at least three contrasting colors for card stock. I'm using six colors, and you could make the colors contrast as much or as little as you wish. I do suggest always having white as one of the colors though, for the whites of the eyes and the inside of the card. White, a darker color, and a matching lighter color, is all you really need. This is also a great project to use up scraps because besides the body of the card, you don't need big pieces of cardstock.

2. After choosing your body color (I chose a medium pink color), decide how big you want your card to be and if it is slightly smaller than 4 1/4 x 5 1/2 inch piece of paper (aka, a folded up width wise piece of printer paper) then go ahead and fold your 8 1/2 x 11 inch paper and make sure to make a good crease. Note: if your paper is bigger (12 x 12) don't fret, just figure how wide you want the card to be, and then make a crease when it's as wide as you want.

3. Now, using a pencil, trace out the shape of a owl with no wings or feet (those are both added later). It should resemble the "BACK OF CARD" part of my photo up there. A more accurate owl would probably have either a smaller head than body or the same size, but since this owl is supposed to be cute, a big head and eyes are what you're looking for. Be sure to draw it so the head and body both at least touch one edge of where the card is folded. This is what will hold the front and back of the card together, once you trim out the shape.

4. Cut out your card. If the folded edges seem a little weird to you, as in they are too straight compared to the more curved edge of the opposite side, that's alright. You can try to minimize this for the head, but for the body, you'll be covering that edge with a wing, so it doesn't matter. 


5. Now the fun part (and most time consuming) the feathers. We'll start with the chest feathers:

6. Taking a piece of contrasting paper (in my case, light pink) cut out a piece of paper that is as big as you want the middle chest to be. Make the top of the chest a slightly more narrow than the bottom. With your scallop scissors, cut the bottom edge off leaving a scalloped edge. 
Note: If you've never used scallop scissors before, try them out on a few pieces of scrap paper (your cheaper printer paper, not your expensive paper) They can be tricky, especially when you are continuing the cut and trying to keep the line straight. 

7. Next, you are going to scallop the edges of several strips of paper, and then layering on the main piece, from the bottom up. Try to line the dip of the scallop with the high cut in the scallop; then vice versa with the next layer up  If you really want to make your "feathers" pop, then you could use contrasting colors for each row. It's all up to you, make it as contrasted or non contrasted as you'd like.
Trim the ends off of your scallop strips once you've attached them to your main piece. It's much easier to trim things after you already know they fit, than try to cut them by eye.

8. Glue/tape your chest piece in place when you're done.

9. Now start work on your wings. Start by cutting out two wing shaped pieces from a separate of paper. Round the bottom tip with the scallop scissors. 

10. Just like with your chest feathers, layer them up, making sure to secure them. Then trim them back to wing shape. 

11. Here's a tricky part: when you tape/glue/secure your wings only a bit will touch the body of the card, so I would suggest to secure them with the strongest option you have available. The added weight of the layered paper will make the wing heavier than you'd think, so if you're giving this card away, you want to be sure the wings won't fall off.

12. With smaller scraps, sketch some feet for your owl. You could do a heart shape, and have on 2 toes or 3 toes by freehand-ing it. You could either attach them to the front of the card or like I did, and attach them to the back of the cover.


13. On to the face, start by cutting out, matching inner ear triangles, and then securing them to the outer ear. Add dashed lines to the edges of the inner ears for added cuteness. 

14. For the eyes, find two circular shaped things (a glue stick cap or scotch tape ring could come in handy) to use as a stencil for your circle. You want two sizes, one slightly larger than the other The smaller one should by white (for the whites of the eyes) the other could be whatever contrasting color you wish. 

15. Cut out two of each sized circle (two eyes), then secure them to each other. This next part is just easier to observe using the picture above. Using a pencil first, draw a circle within the white disk, then erase a little bit of one edge in the high right corner. The pupil I used is basically a pie missing a slice, and then a white spot left nearby. Outline over your pencil with your ink pen and then fill it in.

16. After you attach them to the face and are sure they are where you want them to be, you could draw on "eyelashes".

17. Cut out a triangle for the nose. Flip it upside down and then attach. I made my nose a lite wider at the bridge and the more cut off at the tips.


18. If you want you could add the little peace sign and flower, but it is all up to you. For the flower, I just used a hole punch, then paired down the disk until it was small enough. Then I freehanded a flower shape and put the dot in the middle. If you want you can pull up the petals of the flower to give it some dimension, and it you want the petals to remain popped up, you can bend them forward all the way and then gently flatten them back out. 

19. For the peace sign, using a cap or anything to make a perfect circle, trace, and cut out. Then, trace a peace sign on the circle you've just created. Using a razor blade, cut out the middle pieces. Attach wherever you desire.

20. Last step! I promise! Open your new card and using a piece of white paper add a nice spot for you to write a message and sign. You can also write directly on the paper inside, but if there is any texture to the inside of the paper, it might be harder to write. 


Ahh, you're done! It's time for this wise owl to take flight and hopefully bring a smile here or there. :)

I'm hoping that it is because I went into so much detail that there are 20 steps (yikes!), but they are 20 steps you hopefully will one day wish to follow.


Lastly, good luck! If you have any questions, comments, I'm more than willing to answer.


Related Posts Plugin for WordPress, Blogger...