Showing posts with label girly. Show all posts

Tuesday, July 8, 2014

FO: Polished Pullover


Pattern: "polished pullover" by Erin Kate Archer (she is amazing, check out her other designs) 
Yarn:  Cascade Yarns Ultra Pima in colorway "Jade" 
Needles: #6 and #8


I have been in love with this sweater since I first saw it on Eric Kate Archers blog back in 2012.

After doing some minor graphic work, the lovely Ms.Vicki over on Ravelry, offered to buy me a pattern. I am constantly impressed by the kindness of Ravelers and the idea that someone could be so sweet and generous, well, it made my month and warms my heart greatly.

So when IndieString announced her Christmas in July KAL, I was originally going to put this on hold, but after a rule saying the gift could be for yourself, I let my excitement get the best of me and went for it.


The pattern itself is really lovely; there are a few errors, but besides that everything is very clear and concise.


 The only yarn I had that fit the bill for this was tied up in another failed FO, so I frogged and soaked the yarn for around an hour to get out all the kinks. 

To accommodate being short on the recommended yardage I went up a few needle sizes to make the yarn stretch further.

The only other major mods I made were:
  • Starting the neck decreases earlier for a deeper cut.
  • To accommodate my shoulder decreases, I made the sleeves slightly different.
I find it very helpful to use a t-shirt or sweater that fits well as a sort of guide when making large pieces like this. Just lay your WIP on top and compare to help with when you need to break for armholes and how far up the back you need to go.

As always, thanks for stopping by.


Monday, December 9, 2013

DIY: Friendship Bracelet - Heart


Colorful, cheap, fairly easy to make and highly customizable (DMC floss comes in just about every color one can think of), friendship bracelets are a quick and easy gift. A gift that has some thought behind it, without being over bearing. 

I don't know about you, but I never learned how to make them when I was younger. If you are in the same boat as I was, don't worry, they aren't as complicated as they might seem.

The multicolored bracelet in the above picture is a simple chevron pattern. The tutorial that I used was from Honestly WTF.

Below, I have the pattern I made up for the other two bracelets (hard to believe but they are the same, just different tension was used on the knots).

Since I'm new to this whole thing, I won't go through the headache of trying to write up an explanation on what a forward and backward knot are (ever heard of the blind leading the blind, lol), so instead I will direct you again to the Honestly WTF tutorial. The biggest thing I had to keep reminding myself was to DOUBLE knot, so I suppose that is the only advice I have for you.

You will need:

2 Embroidery flosses in the main color you like
1 Embroidery floss in a contrasting color (you can find these at most crafting stores, I found mine at Walmart for 30 cents each)
Scissors
Tape


The bracelet I made used 10 strands of floss. 8 strands will be your main color (MC), 2 strands will be your contrasting color (CC).


Start by cutting 8 strands of MC and 2 strands of CC at 32 inches. The one I made was 24 inches and just a tad too short for my liking, so i would add a few inches if I were you.

Step 1: Knot all strands together, and then part into three sections (since 10 can not be divided evenly by 3, it is okay for your sections to be uneven).
Step 2: Braid for 2 inches, knotting the end so your braid doesn't unravel.
Note: Tape down the braid well so you can really pull on the floss as you go. It might also be helpful to tape the bracelet down as it grows for added stability.
Step 3: Pull out pieces of your floss so that the pattern is, 2 strands main color, 1 strand contrasting, 2 strands main color, and this repeats on the other side.
Between Step 3 and 4: Here is the unseen work of double knotting the main color across for 2 rows.
Step 4: You should now have your contrasting color on the outside edges. To make the border for your heart, take the strand directly next to CC, and double knot backwards for the left side and forward knot for the right side.
Step 5: Work the CC across remaining 3 MC strands.

Continue working 2 rows of MC, the one special row with CC and then 2 more rows of MC, until bracelet reaches desired length. 

Once so, knot the end, braid for 2 inches and then knot again. Clip your uneven strands with scissors. You're done! Try your bracelet on or give it to a friend, either way, this cute accessory will brighten your day.

Friday, August 30, 2013

Part I DIY: From Pierced Dangle Earrings to Clip-ons

In this quick part one of two tutorial, I will be showing you how to change dangle pierced earrings into clip-ons. 

I like the way earrings look, but don't like the idea of having piercings. Clip-ons are the obvious choice, however, I've found them to be hard to find, and fairly expensive at that, especially in comparison to their pierced counter parts.

Yearning to make my own after seeing how easy the process was at a mall kiosk, I searched for the clip-on blanks and finally found them at Micheal's. Fourteen blank pairs for around $3! What more could a girl ask for?   


Let's get started!
 
You will need:

1 pair of clip on blanks (Bead Landing is the brand I found; they come in gold and silver. Mine are silver)
1 pair of earrings you wish to convert
Needle-nose pliers


1 - 2. Using your finger tips, gently pull the charm off of the pierced earring hook. Note: depending on how tightly the charm is attached, you may need to use your pliers.
3. Self explainatory shot of the seperated pieces. (hook and charm)
4. Using your needle-nose pliers, open the ring on one of your clip on blanks. 
5. Gently hook the charm onto the open ring.
6. Close the ring with your pliers. 

Enjoy!


Thursday, May 16, 2013

Spring Forward ~ A Free Pattern


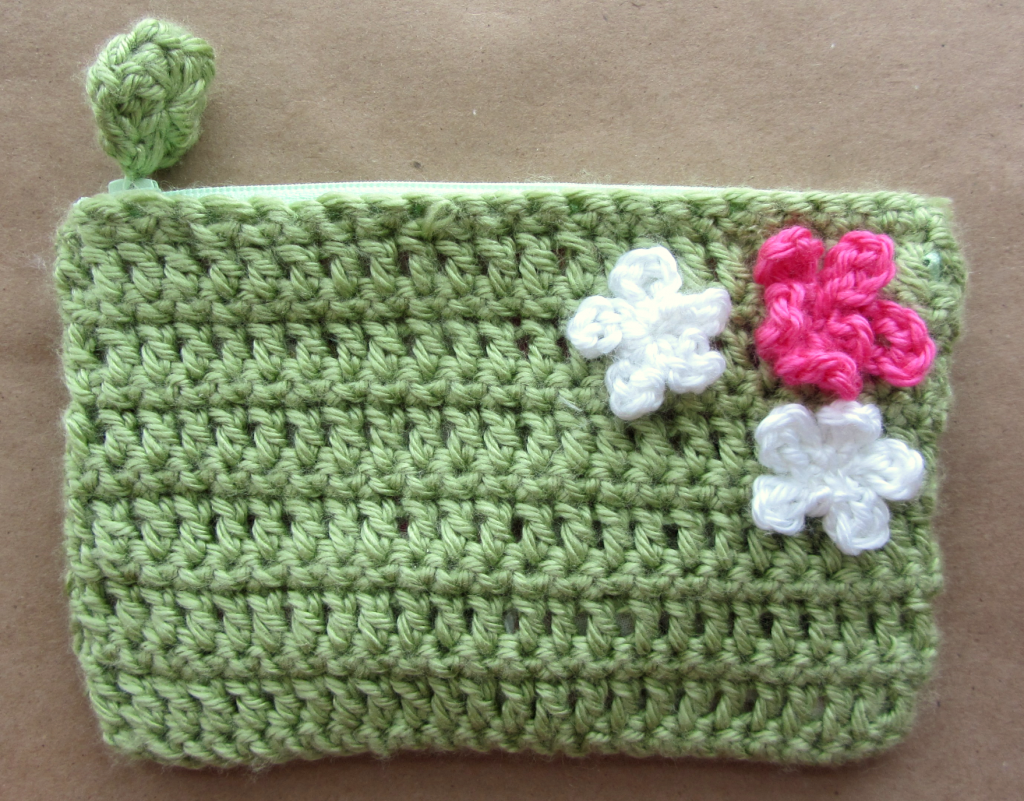
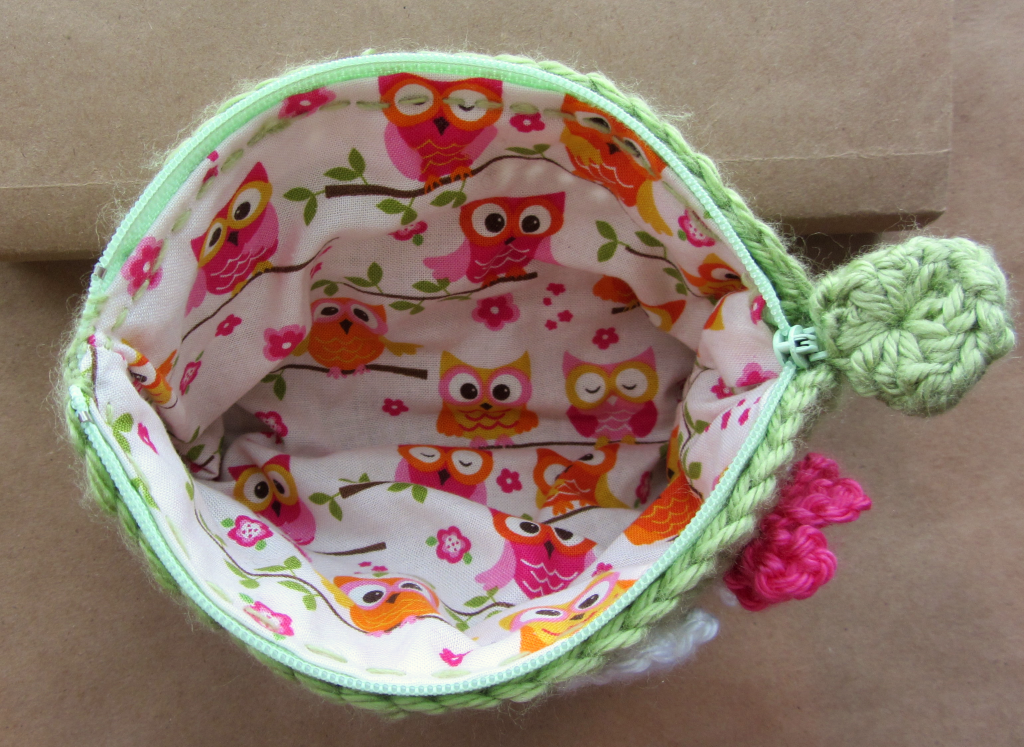
A simple, crocheted, zippered pouch, that uses feminine touches and fabric to make it pop.

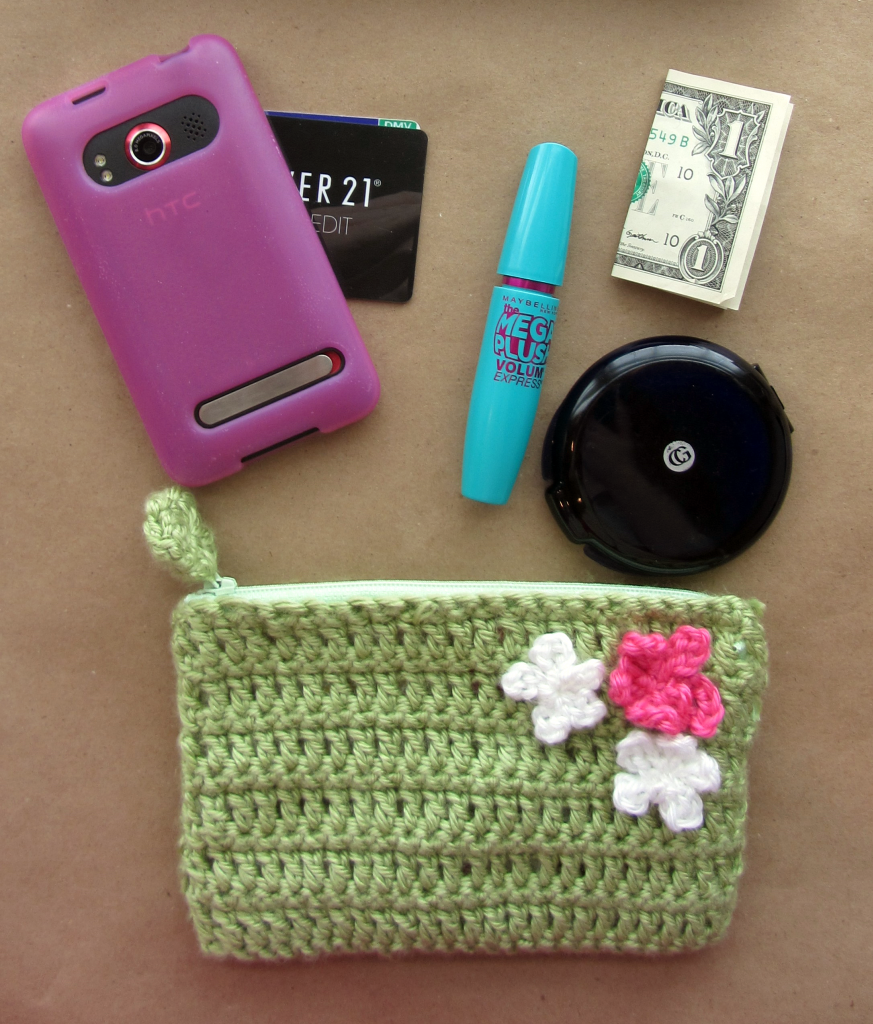
Sunglasses case, cosmetics bag, or just a cute clutch for your necessities; with dimensions of 7 inches x 4.5 inches, you can be sure to fit just what you need.

Worked in two pieces and sewn together for a more structured look, the super simple single and double crochet stitch pattern makes this small purse an easy and almost instant gratification project. Make several as gifts or just one for yourself.
                   
You will need:
A main color yarn (body)
Two contrasting yarns (flowers)
Hooks: 5.00 mm, 4.00 mm and 3.75 mm
One 7 inch zipper
Fabric (¼ a yard would be plenty)
Sewing needle
         

A word on copyright: This pattern is free for use to recreate. You can sell the finished object you make with this pattern, but if you could please give me credit that would be great. Please do not sell this pattern for profit. Thanks

Note: The reason I use a 5.00 mm hook for the first row is to compensate for my stitches getting looser the longer I crochet. Since the chain you make impacts how wide the bottom of your piece will be, you can combat it being to narrow by starting with a bigger hook, thus creating a more even shape


Body (make 2):

Using your main color and size 5.00 mm hook, chain 26
Row 1: Work one row of single crochet (25 sc)
Row 2: Chain 2, turn work and change to size 3.75 mm hook. Work one row of double crochet (25 dc)
Row 3: Single crochet across (25 sc)
Row 4: Double crochet across (25 dc)
Row 5: Single crochet across (25 sc)
Row 6: Double crochet across (25 dc)
Row 7: Single crochet across (25 sc)
Row 8: Double crochet across (25 dc)
Row 9: Single crochet across (25 sc)
Row 10: Double crochet across (25 dc)
Row 11: Single crochet across (25 sc)
Row 12: Double crochet across (25 dc)
Row 13: Single crochet across (25 sc)

Break yarn and pull through to bind off.

Sew cast on edges and sides together, leaving the bind off edges as the opening of the pouch.

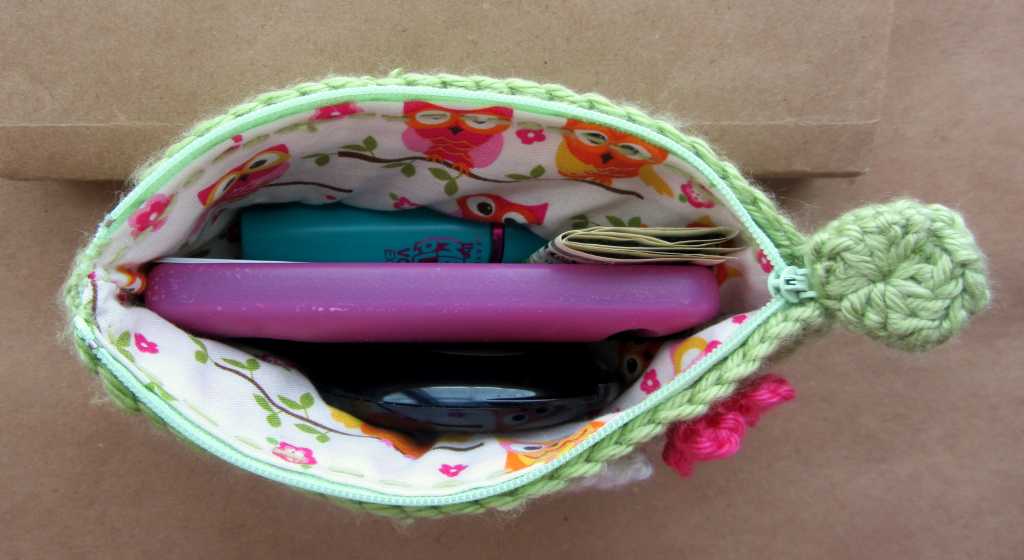
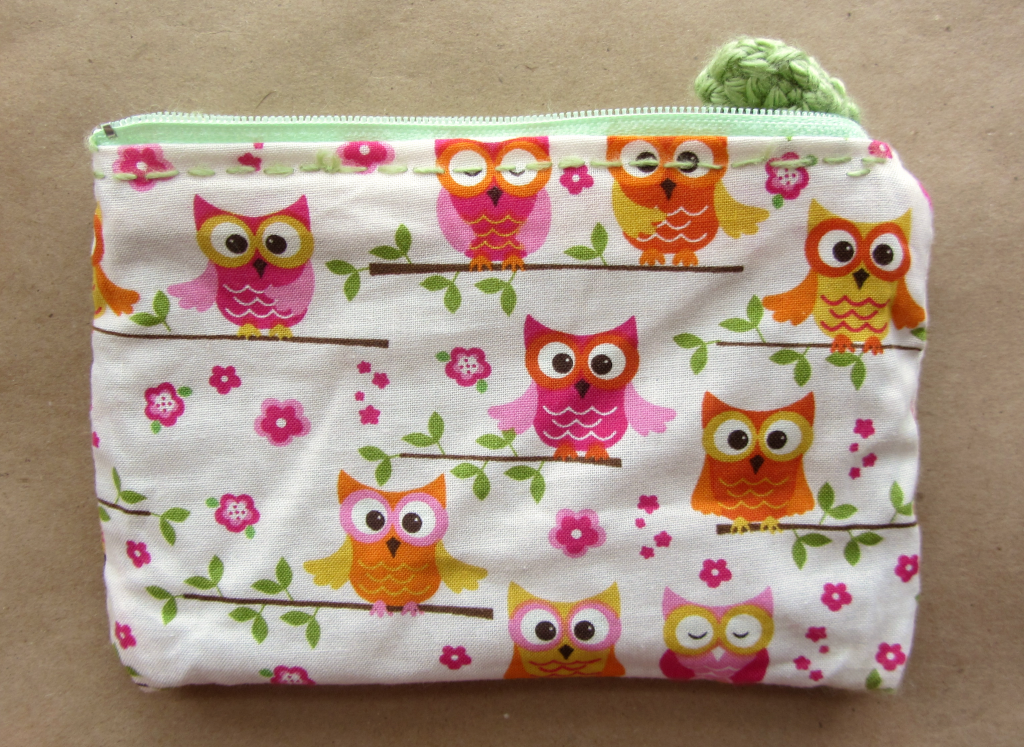
Create your fabric insert by folding your pouch inside out and using it as a template for the size of fabric you need. Cut one piece and then sew sides together. Place your crocheted piece into the fabric pouch you’ve just created. 


Then place your zipper between the fabric and crocheted piece. Using the same color you used as the main body, sew zipper into place. Try to make your stitches even and place the zipper straight for best results. Using pins to hold everything in place and together is a useful trick.

Zipper pull (make two):
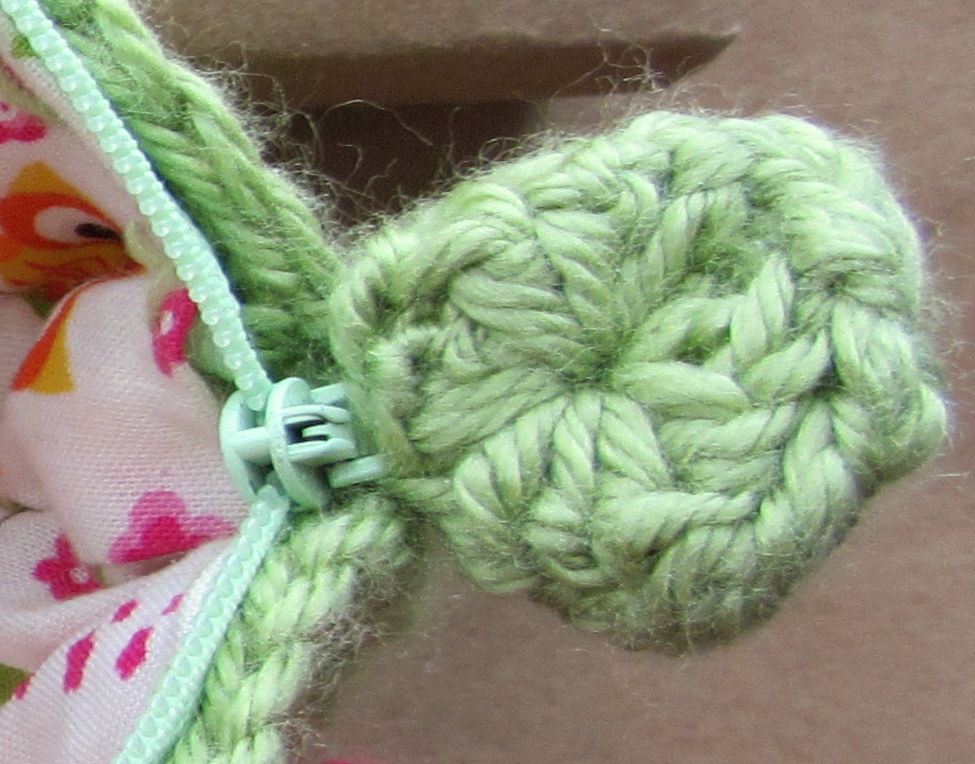
With main color, 4.00 mm hook and using the magic loop, double crochet into your loop 10 times. Slip stitch last dc to first dc to create a perfect circle.

After making a second disk, sew together over the pull that is already on your zipper. To make sure it is secure, you might want to sew through any holes several times. Also, sew edges of disks together.

Larger flower (make one):
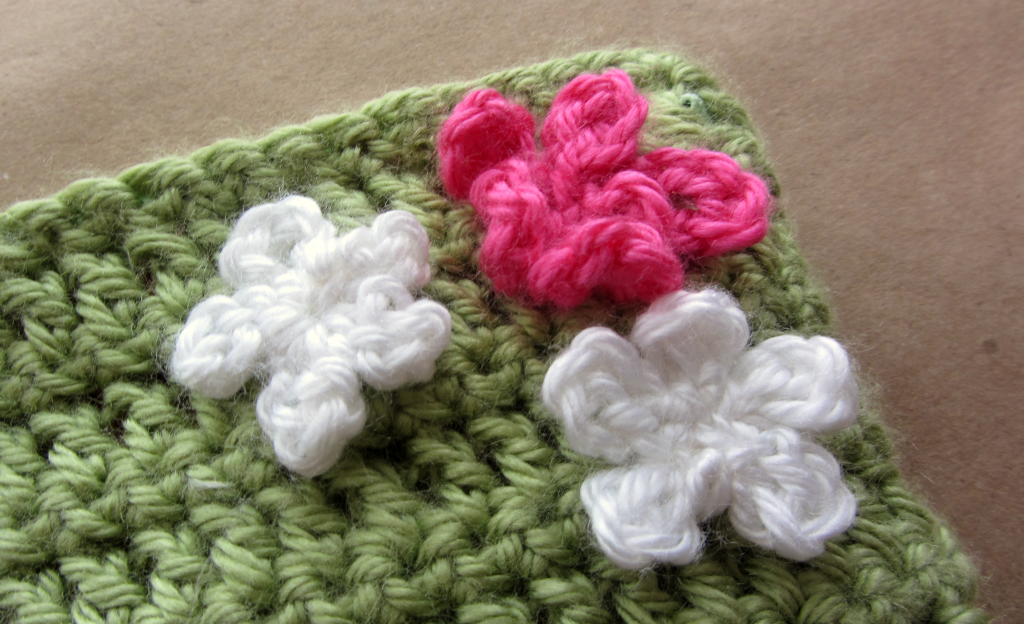
Using one of your contrasting colors and size 4.00 mm hook, make a magic loop and chain 7. Slip stitch into the magic loop and then chain another 7, slip stitching that chain into the magic loop as well. Repeat the process 3 more times to create 5 “petals”. Pull yarn through on last slip stitch to bind off. Use tails to sew flower purse. You can pull your cut ends in between the crocheted fabric and the cloth.


Smaller flower (make two):

Using one of your contrasting colors and size 4.00 mm hook, create a magic loop and chain 5, slip stitch into the magic loop and then chain another 5, slip stitching that chain into the magic loop as well. Repeat the process 3 more times to create 5 “petals”. Pull yarn through on last slip stitch to bind off. Use tails to sew flowers to purse. You can pull your cut ends in between the crocheted fabric and the cloth.

Tuesday, March 19, 2013

Pretty in Pink


Femininity, being dainty and sweet not only in spirit but in dress and attitude, these are things I have aspired to be for as long as I can remember. So when I set out to make a card for a girly girl, I knew purses, shoes, and polka-dots bathed in pink was the way to go. 

I wanted the card to be simple, soft and not overly crowded, so I stuck to the basics. 


I actually drew and cut out the shoe and purse, then embellished the set with ribbon and some scalloped paper bits. Since I didn't have black paper, I used a Sharpie instead to blackout the white paper and trace in the shoe. (that's why it looks a tad 'steaky')


Trying to be professional I even added my "label" to the back. My handwriting is by no means great, but hey, at least it got the job done. 


It ended up being a fairly heavy card, so I hope the stamp I put on it, carries it to its destination. 

Of course, at this moment, I realize that I forgot to date it ... oh well. I suppose if I were to forget something, I'd rather it be the date than say, a signature. 


Related Posts Plugin for WordPress, Blogger...